Restoration Therapeutic Massage
Cameron Ann Crowley MA60483783
Tiny House living
Putting up the siding


The stairs and bathroom


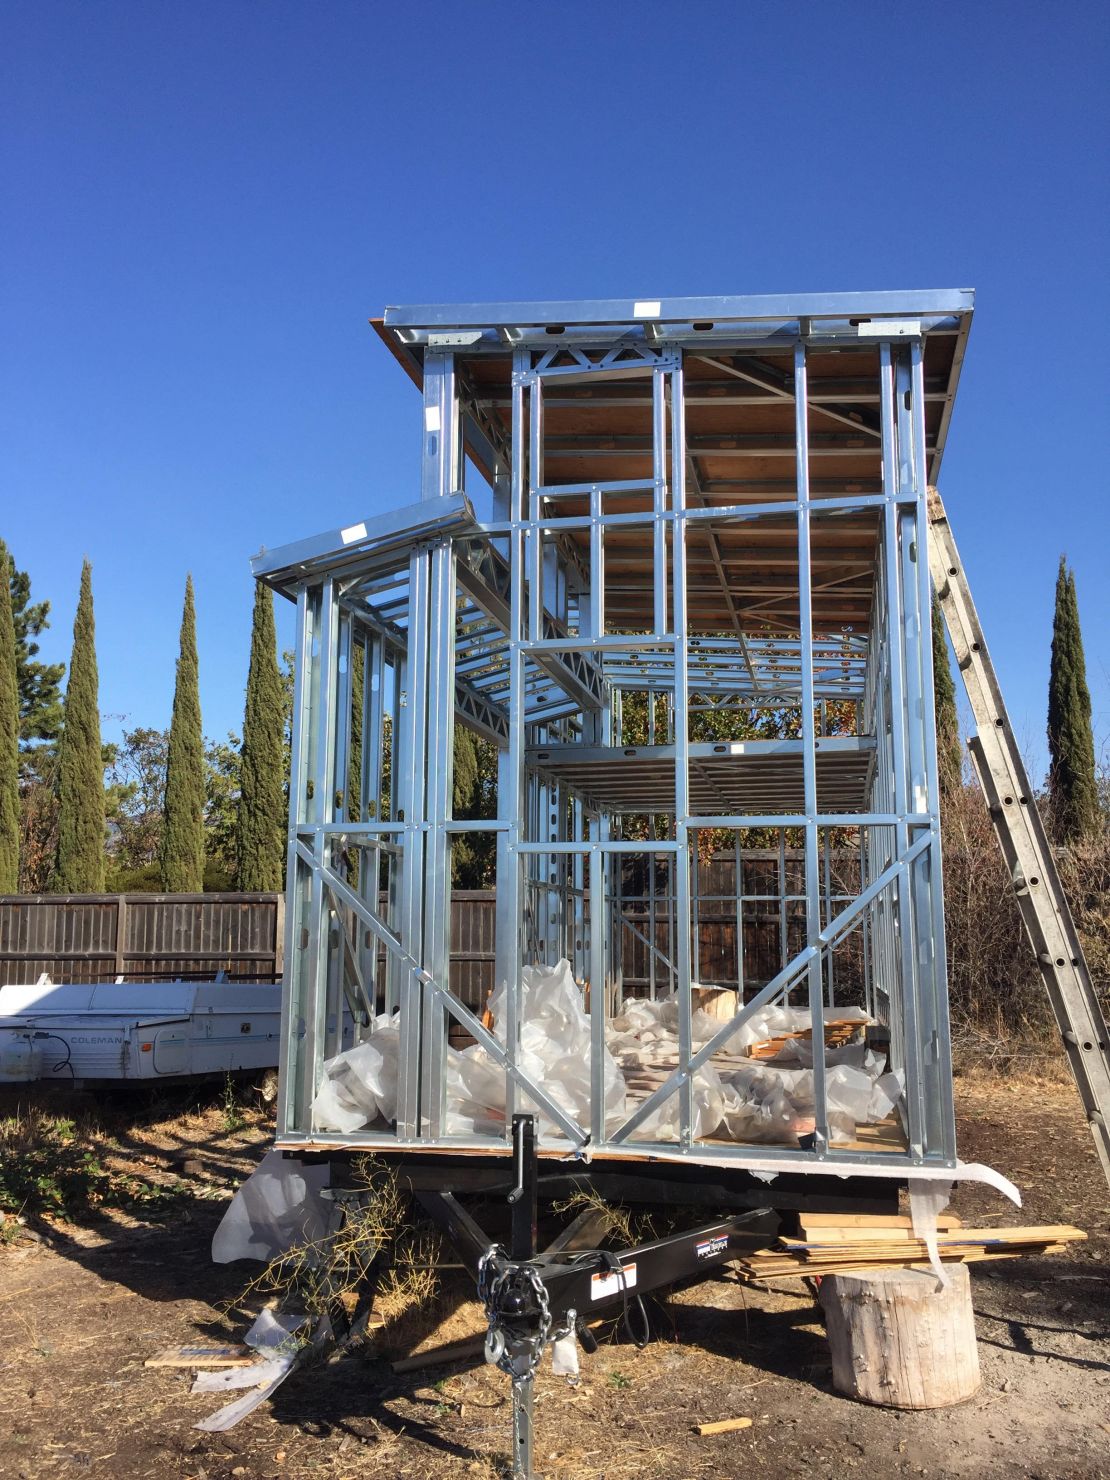
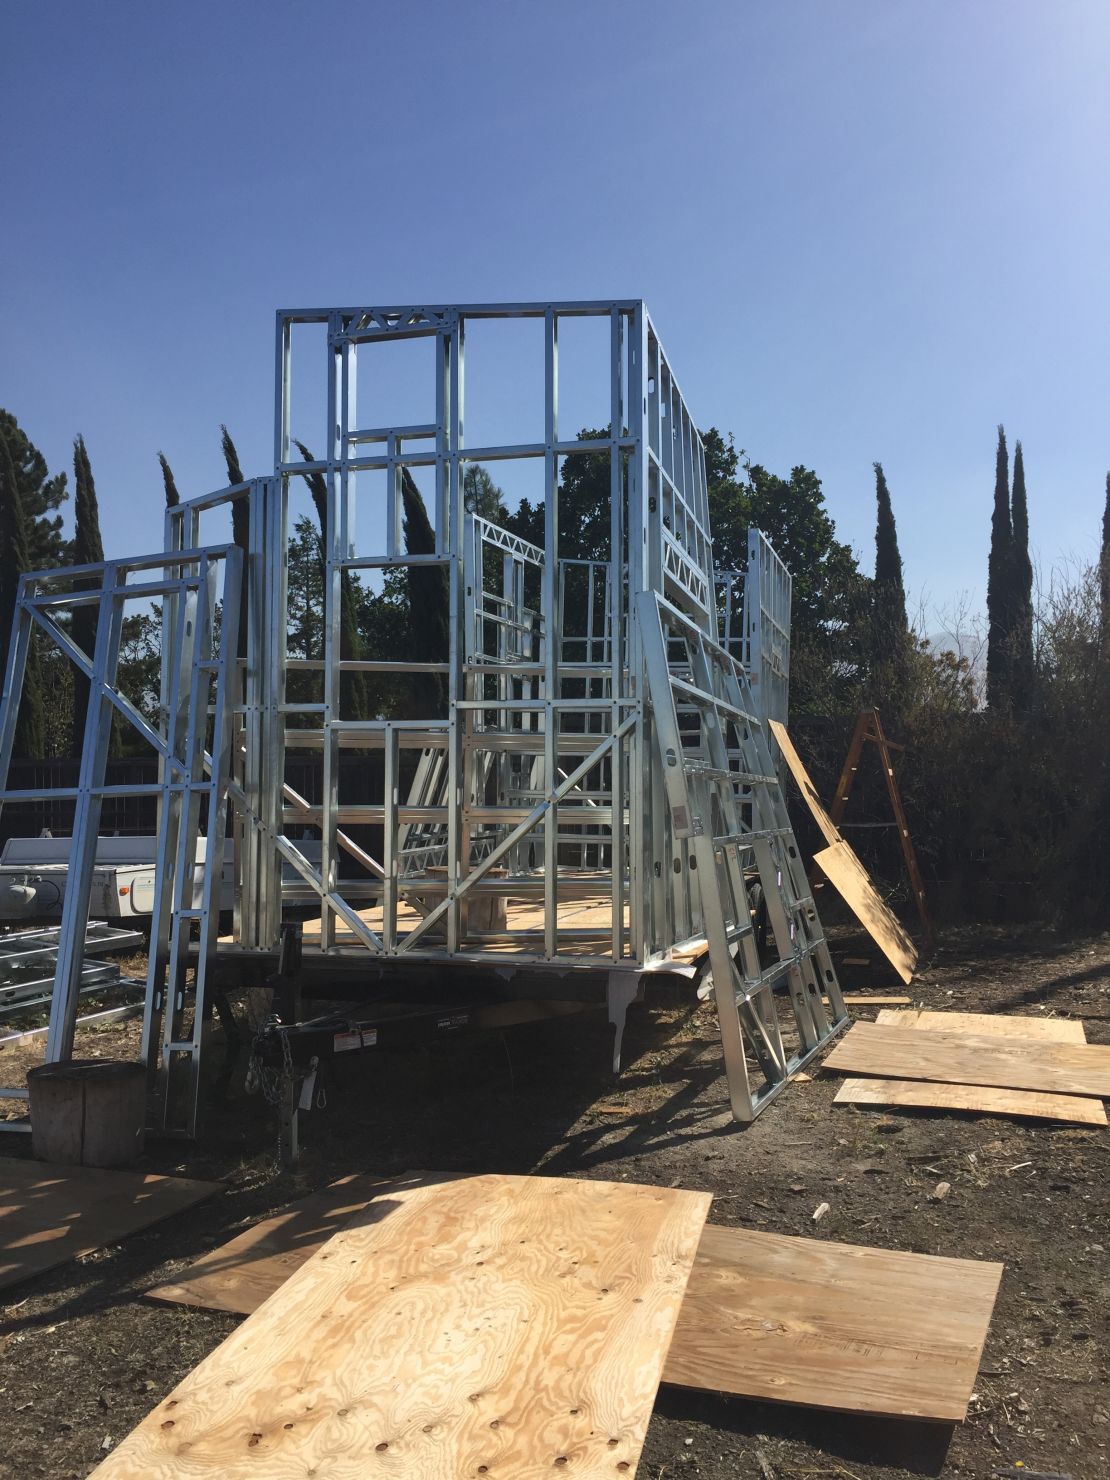
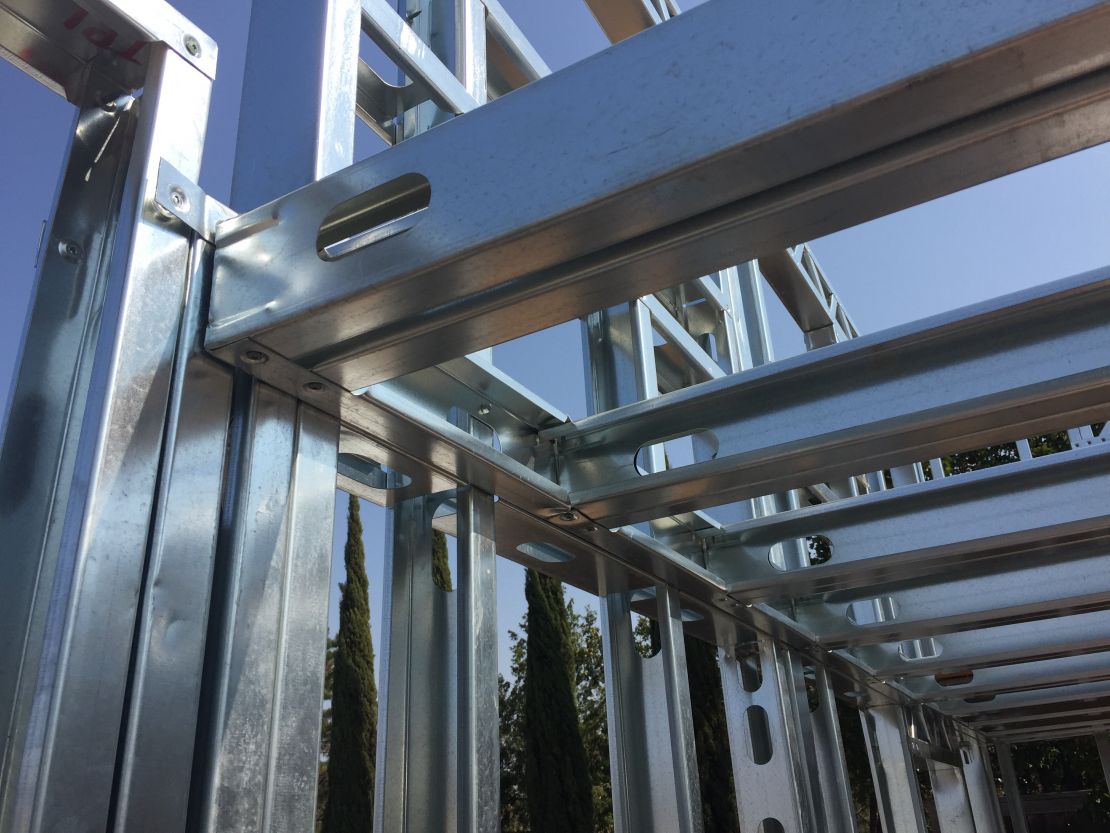
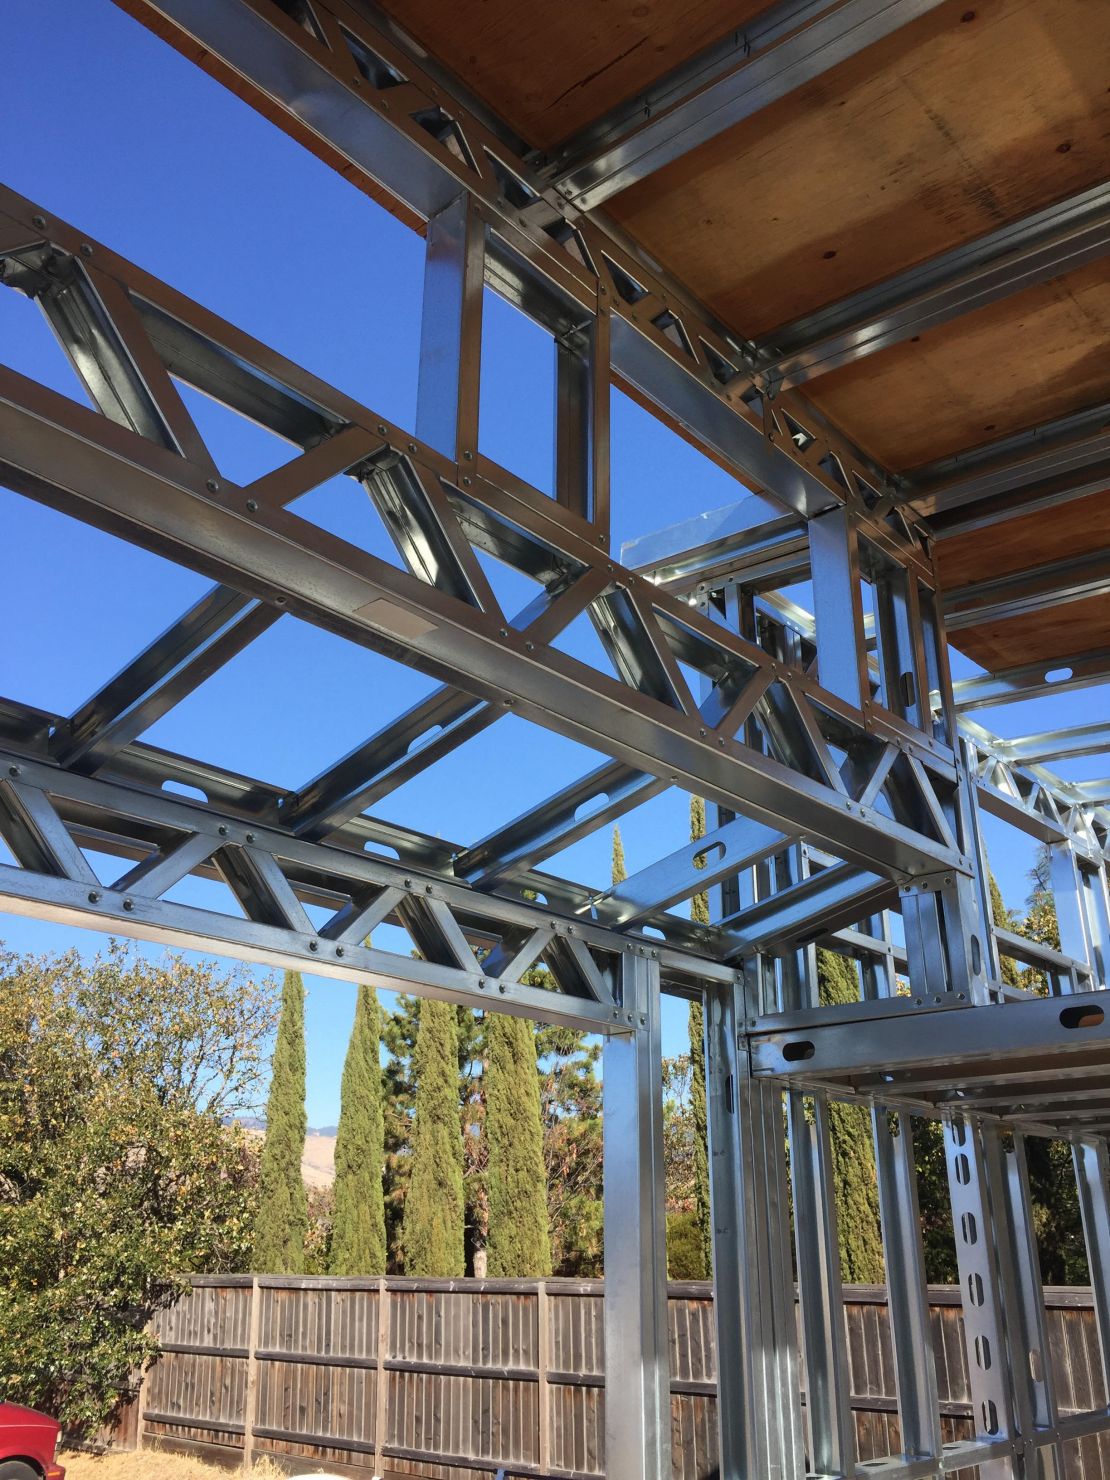
Putting up the framing
![]()
Building the subfloor

Putting up the siding
The stairs and bathroom
Putting up the framing
![]()
Building the subfloor